
if you want to know How to split embroidery designs for a small embroidery machine in willcome software so you are in right place we guide you complete step by step on how you can split an embroidery design for the small machine in willcome es2006 softwer. so please read this article completely so you can easily split any design yourself.
what is the pre-requirement for split embroidery designs for small machines
first a fall you should have some imported thing which is mentioned below
- Window computer or laptop and then
- you should have willcome es2006 or hire software installed on your computer.
- you should have at least one embroidery design EMB File for a split
if you don’t have it so please contact your near computer service center they can help you or you can buy it on willcome software online
how you can choose split design size?
you can check your machine hoop size, you should split embroidery designs according to your hoop size. like if your hoop size is 180mm*200mm so you can split the design 150mm*180mm . so it is safe for your machine and you can save your machine damage.
how to split embroidery design?
open embroidery design into wilcome software, which you want to split.
Image
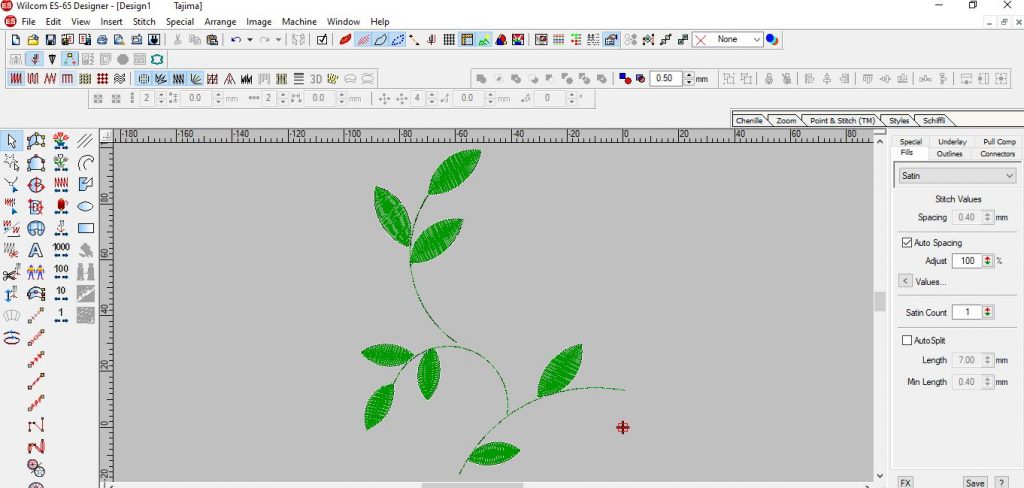
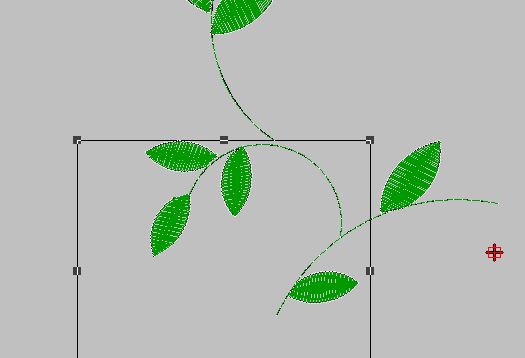
masur your hoop size for split choose a split point
it is very important to choose the right point to split any design if you make any mistake design never looks good and also if you choose the wrong point so you can’t join the design during the run time of the machine.
- please choose which point than not too difficult to join
- please choose a split point that is smaller than your hoop size
- always try to choose a point to split which is not connected with any outside of hoop size. (if this is not possible in your design so don’t worry we give you here another solution for split )
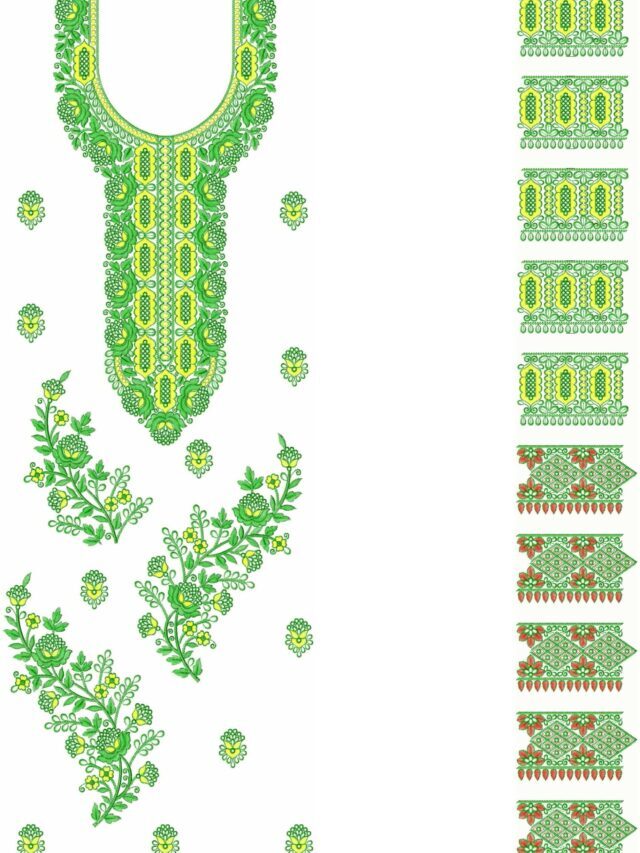
How to split embroidery designs that are not connected to out of hoop size like the below image
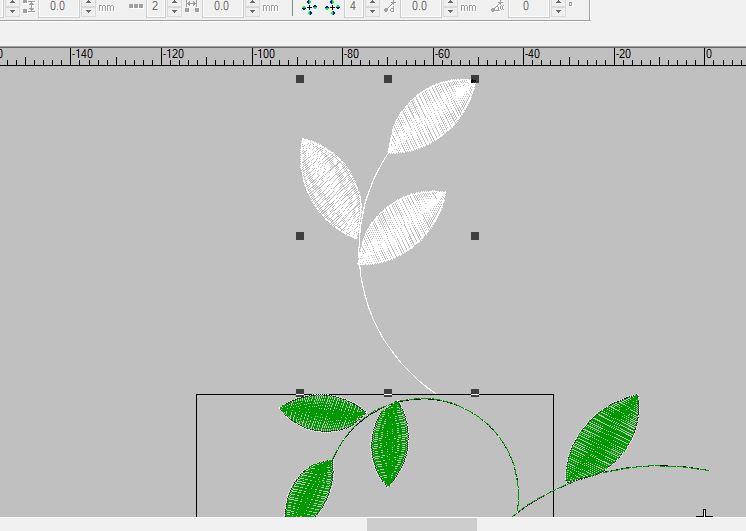
- select the part of which you want to separate and press ctrl+X
- then open a new page Press ctrl+N
- then Past selected part Press ctrl+V
- make the machine point to the center
- save the design to Emb For future editing and changing Press crtl+S
- Save AS for JEF or PES file For Small machines Press ALT+F+A
How to split embroidery designs witch is connected to out-of-hoop size like the below image
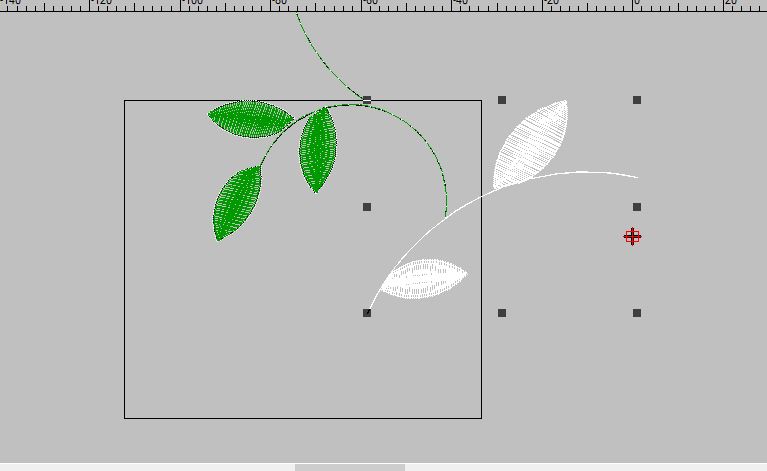
How to split embroidery designs witch is connected to out-of-hoop size like so follow the instructins
- choose a point that is inside of your hoop size and is not difficult to re-join during running the machine
- Press the home button so the machine point goes back to the start point
- then run the machine point by pressing the Arrow button in the key bord to your spit point
- stop machine point to spit point
- then press E
- then Press alt+e+j
- now your design this part is separated check if any part is connected so you can repeat steps 1to6
after splitting all parts then you can separate this part now please select this part and flow below the step
- select the part of which you want to separate and press ctrl+X
- then open a new page Press ctrl+N
- then Past selected part Press ctrl+V
- make the machine point to the center
- save the design to Emb For future editing and changing Press crtl+S
- Save AS for JEF or PES file For Small machines Press ALT+F+A
that is a simple process to split any design if you can try it more thane one time so you can fill it is not difficult it is very important to choose which point you want to split embroidery designs. after the split designs, you can easily use them in your small machine